Color Correction Professional Photo Editing Tutorial Chronicle
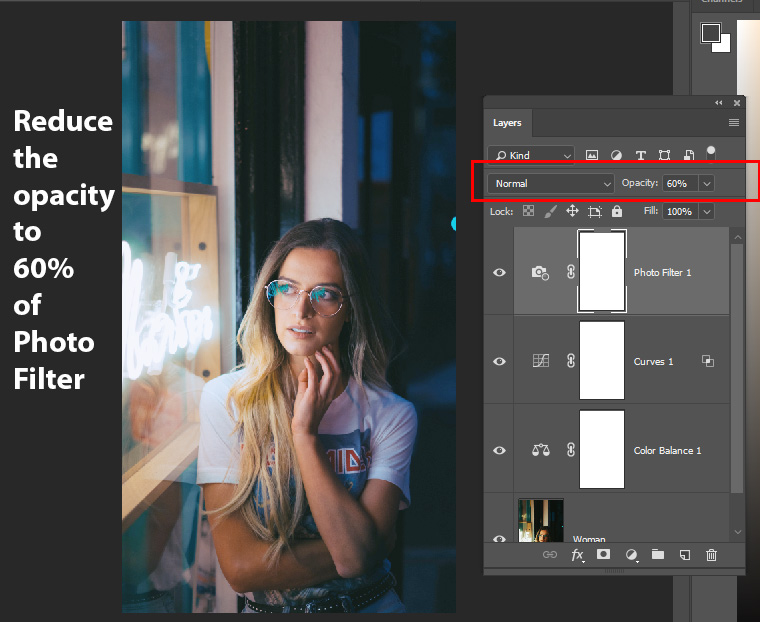
In the Adjustments panel, click the tool icon for the adjustment you want to make: For tonality and color, click Levels or Curves . For adjusting color, click Color Balance or Hue/Saturation. For converting a color image to black and white, click Black & White. In the Properties panel, adjust the adjustment layer tool settings.
Color Correction Service
Step #7 - Open a curves adjustment layer. Open a curves adjustment layer. Hold down the Ctrl and Shift (Cmd + Shift) keys and click once again exactly on the center of the second, mid-tone sample point you created (#2). This has the effect of placing a mid-tone point along each of the individual RGB curves.

You have to reshape your bulky face to make it attractive with surgeries. So have you ever
To save a setting in the Shadows/Highlights or Replace Color image adjustment dialog box, click Save. In the Levels, Curves, Exposure, Hue/Saturation, Black & White, Channel Mixer, or Selective Color image adjustment dialog box, choose Save Preset from the panel menu. Enter a name for the setting, then click Save.
The Complete Color Correction Process in YouTube
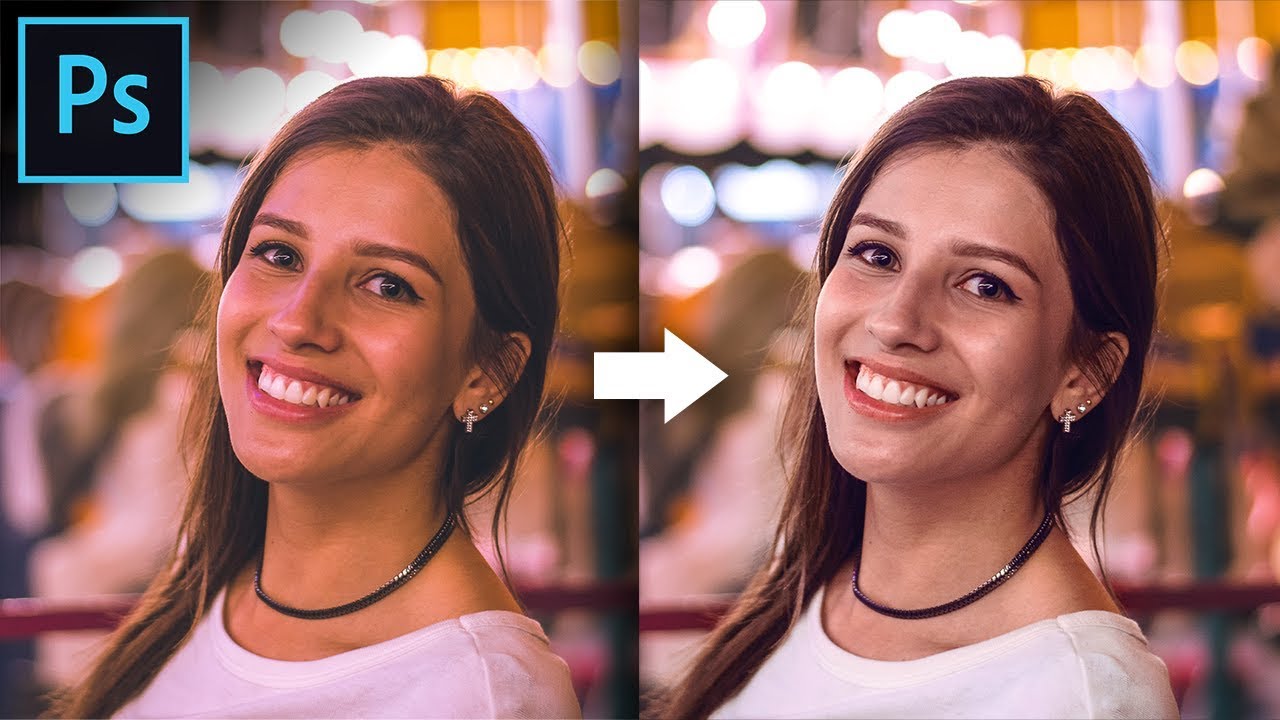
In this tutorial, you will learn how to Fix Skin Tones in Photoshop!This powerful Photoshop trick will allow you to get perfect skin tones with just one clic.

Skin retouching,Portrait Retouching, deep skin correction, Color Correction, Digital Retouch, Ph
To get started with color correction in Photoshop, open an image and choose the tool you want to use from the Image > Adjustments menu. Make your adjustments as needed and then fine-tune the results using the sliders or by manually adjusting the colors. Remember, the best method for color correction will depend on the specific needs of your image.

Photo Color Correction Action Free Download on Behance
How to Color Correct Skin in Photoshop PHLEARN 2.13M subscribers Join Subscribe 4.1K Share 148K views 4 years ago Latest from PHLEARN - Today we show you how to color correct skin in just a.

Advanced Color Correction Secrets in YouTube
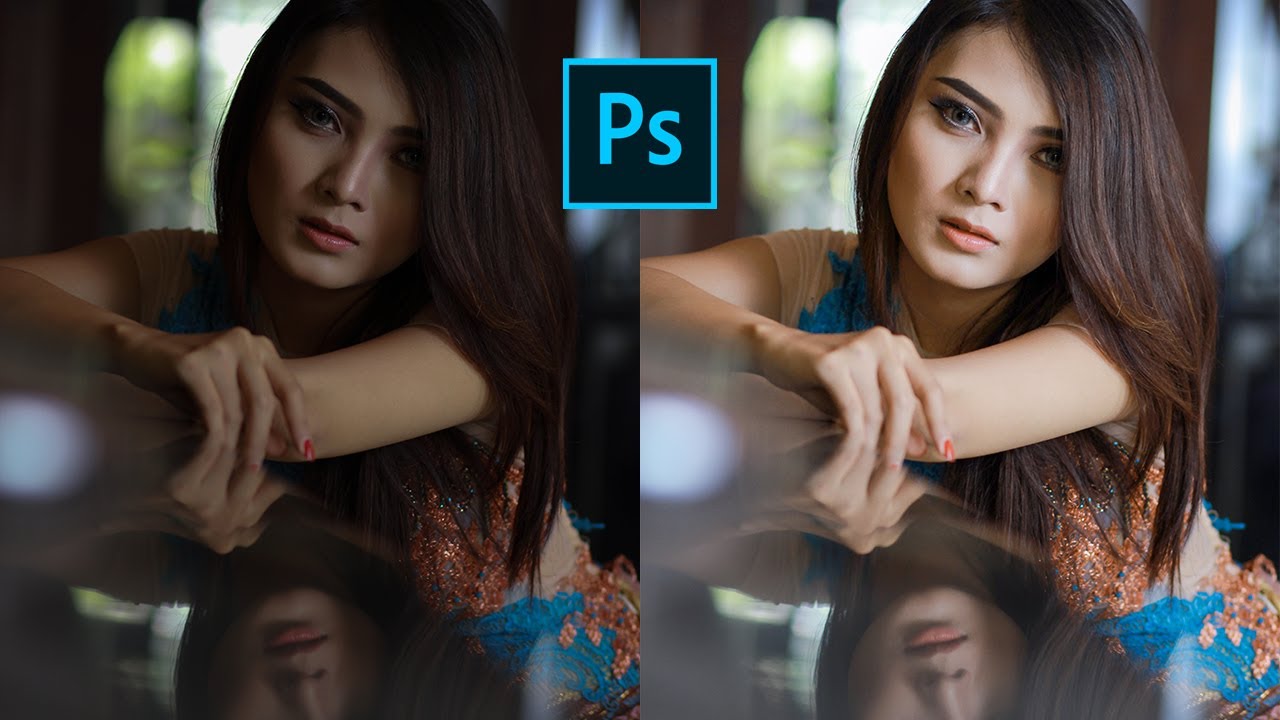
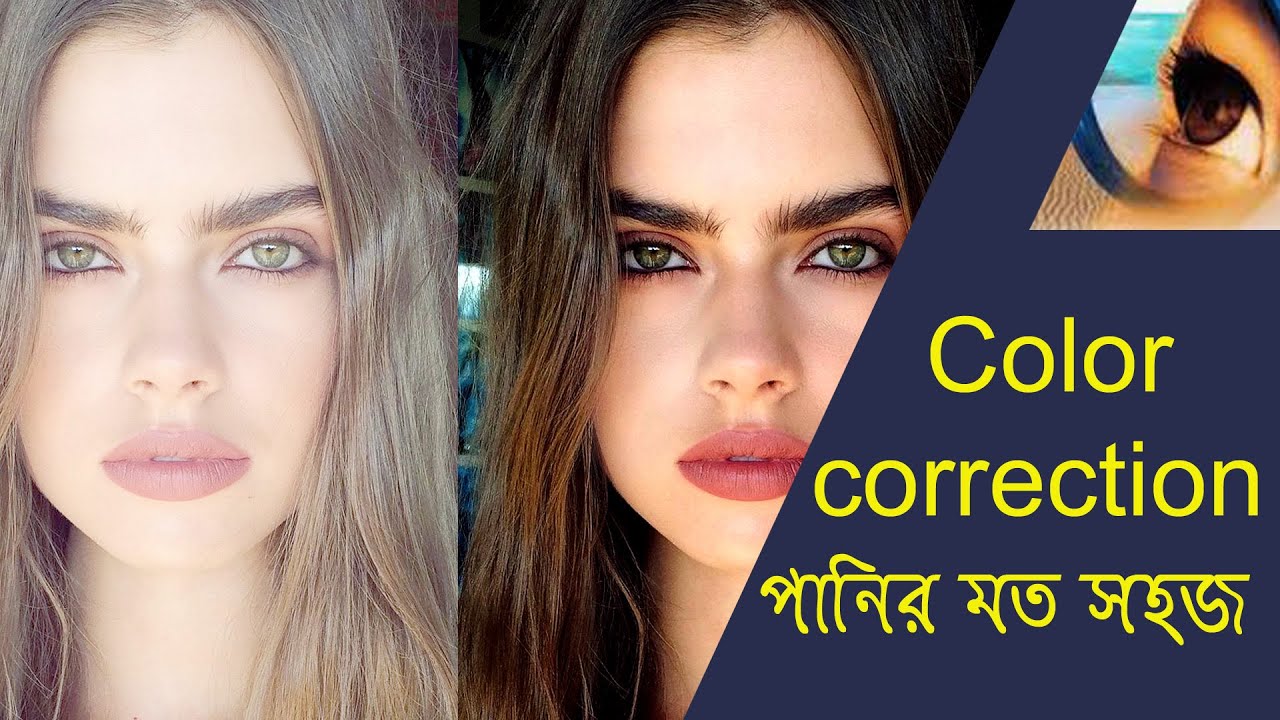
Adjusting skin tone… one of the most common photo editing tasks. Many designers simply adjust skin tones the best they can, using their naked eye, but with unpredictable and inconsistent results. Photoshop offers a simple way to measure the exact color values in an image and correct the color to a normal skin tone.

Color Correction action or Preset Download Color correction
Photoshop now offers an even newer tool for making changes to facial features (and even facial expressions). Powered by Adobe Sensei technology, these tools use cloud-based artificial intelligence to make adjustments to images. To open the Neural Filters dialog, open the Filter menu and select Neural Filters. Toggle the Smart Portrait option.
2 Minutes Color Correction in PSD Stack
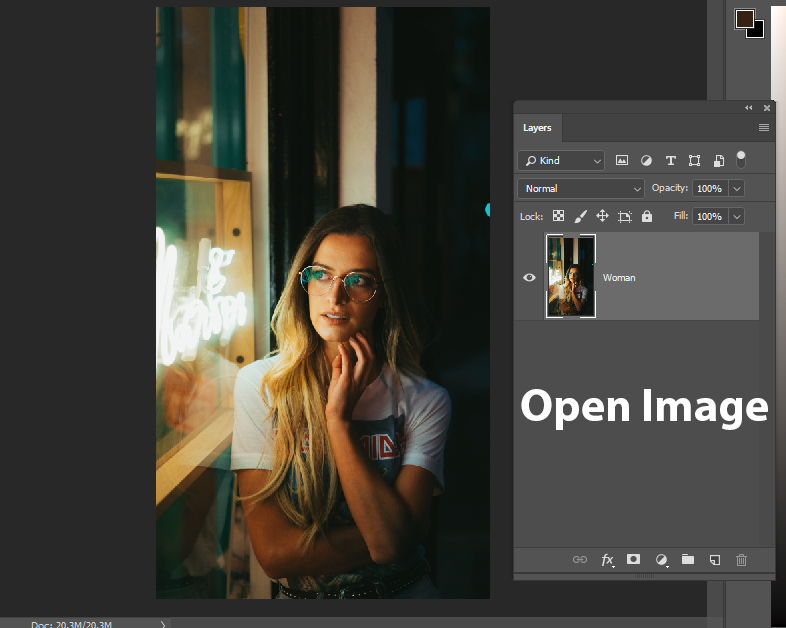
Click on the Portrait layer and select the Quick Selection tool and use it to choose the areas that need skin tone correction, including the hair where the skin also shows. To subtract an area from the selection, hold Alt (Windows) or Option (macOS) as you click-and-drag on the areas to deselect.
Color Correction Work in ADMEC Multimedia Institute
Step 1: Select The Skin Tones In The Image. To correct skin tones in Photoshop, open the image by navigating to File > Open. Once the file is open, you must select the skin hues so you don't affect the rest of the image. To do this, navigate to Select > Color Range to open the Color Range window. In the Color Range window, select the drop.
2 Minutes Color Correction in PSD Stack
Color and tonal correction basics Last updated on Jan 20, 2022 Color correction overview Photoshop Elements provides several tools and commands for fixing the tonal range, color, and sharpness in your photos, and for removing dust spots or other defects. You can work in one of three modes, depending on your experience and needs. Quick

Effects Tips, Tutorial, Face, Creative
First, click on the white point eyedropper in the bottom right of the Levels dialog box to select it: Click on the white point eyedropper icon in the bottom right corner of the Levels dialog box to select it. With the white point eyedropper selected, all we need to to in order to fix any tonal and color problems in the highlights is click on.
Color Correction Tutorial YouTube
0:00 / 18:37 The Complete Guide to Advanced Color Correction in Photoshop! Learn how to color correct a portrait using Curves and Hue/Saturation Adjustment Layers. In thi.

How to Change/swap/replace Face and match color in adobe
Are you feeling skeptical about the white balance of your model skin? The following Photoshop retouch plugins fix the white balance skin of your models with automated actions. It retouches the skin and provides you with great-looking skin in your photos.

Guide to use the color correction BeautyTipsMakeup Color correction makeup, Corrective makeup
5.3K Share Save 178K views 5 years ago Skin Retouching Tips and Tricks in Photoshop Easiest and Quickest Way to Fix Skin Tones in Photoshop! Learn how to use the powerful Selective Color.

Tutorial Easily Color Correction CC N.S.Creation
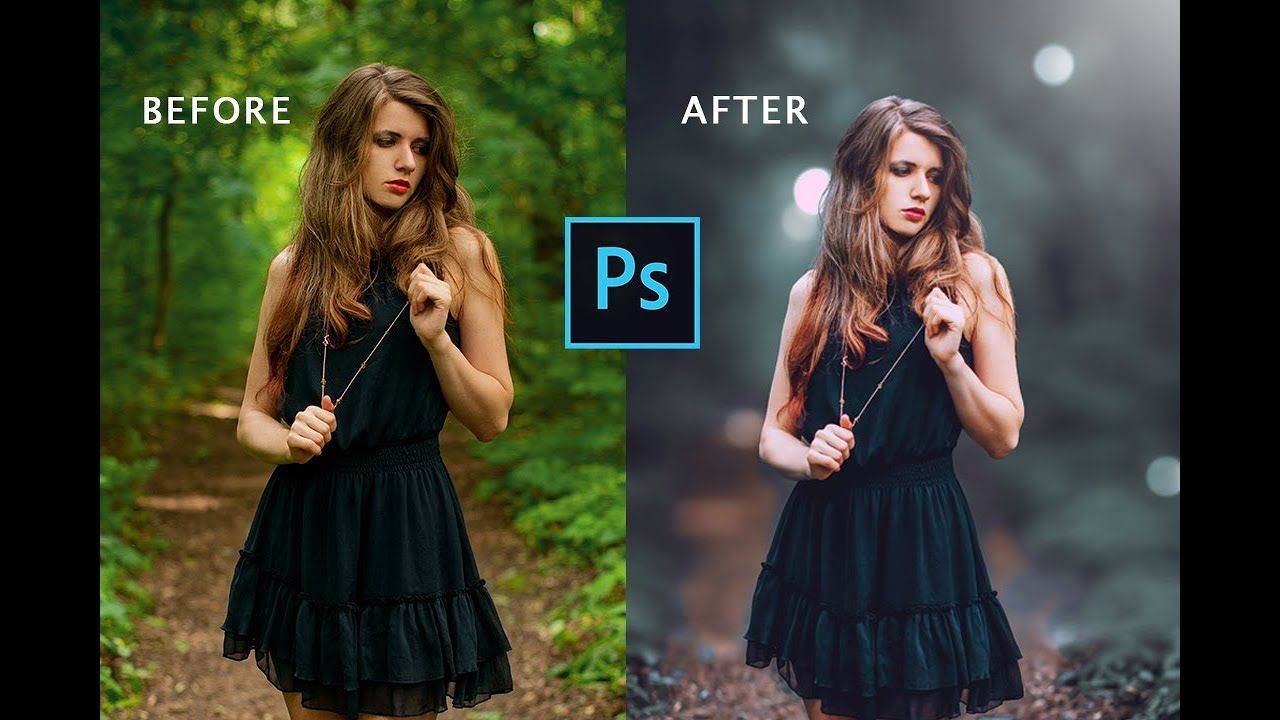
Models have skin, and when it gets retouched, it still has to resemble human skin, which means natural, beige color. This is the main idea of skin color correction in Photoshop. No bluish, or greenish unnatural tints! And if you see something like that, you have to take care of these unnatural tints and many other problems as well.